
Zero Cameras, Forty-Eight Hours: How I Shipped an 8-Part Course Video Series with VideoAI
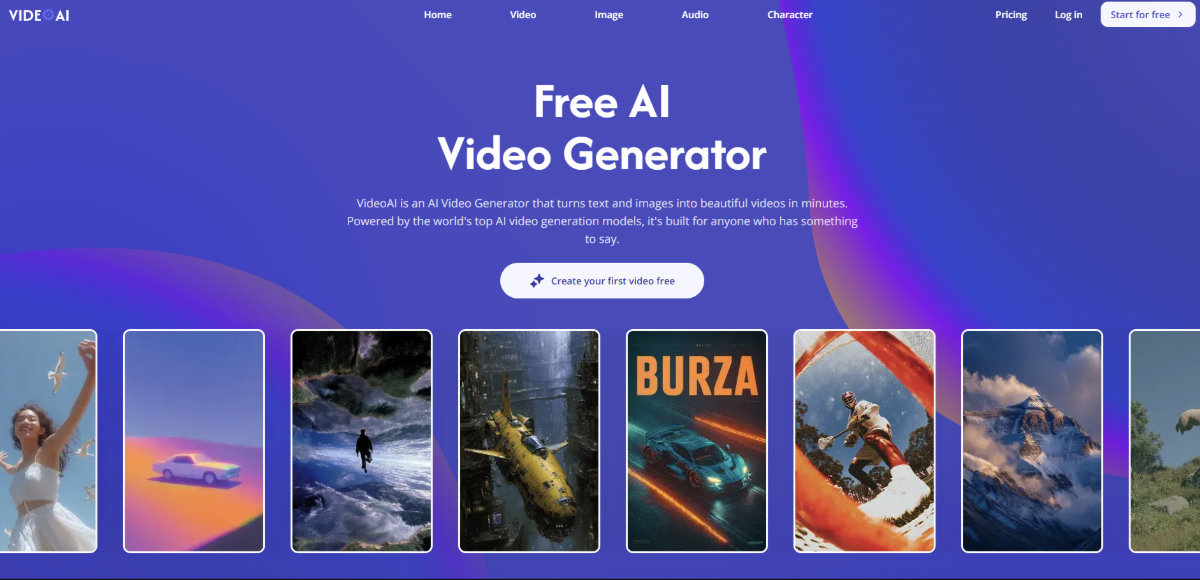
The Radical Result: Skipping the Studio Sandbox
Over a single rainy weekend, I successfully published an eight-part video tutorial series on advanced web architecture. The final videos featured clean animations, talking-head explanations, step-by-step code walkthroughs, and professional sound design. Historically, a project of this scale would have required renting a local studio, configuring a three-point lighting rig, adjusting complex lapel mics, and spending at least two weeks editing raw footage.
The budget for such a traditional setup can easily exceed $3,000, even for a simple, self-produced course. Instead, I completed the entire production from my laptop with a budget of zero dollars for camera equipment.
By working backward from my final educational scripts rather than starting with a camera lens, I bypassed the physical hurdles of traditional video production. The secret lay in transitioning my workflow from manual physical recording to algorithmic scene generation. By using VideoAI as my primary creative engine, I was able to compile, render, and edit my lesson modules in a fraction of the time usually required.
Deconstructing the Visual Bottleneck
If you are an independent creator, an educator, or a small business owner, you are likely familiar with the content bottleneck. Audiences expect high-quality video content on every platform, yet the physical constraints of producing that content remain incredibly high. According to Wyzowl's 2026 video marketing report, 89% of consumers say they want to see more videos from brands, yet 43% of content creators cite a lack of time as their biggest barrier to video production.
This time barrier is not just about the hours spent recording; it is about the entire production pipeline. Setup, recording, manual editing, color correction, and audio cleanup eat up precious hours that could be spent refining your core product or writing better educational material. This exact time crunch is what led me to explore using an AI Video Generator to bypass the physical studio altogether.
Traditional video production is linear and rigid. If you make a mistake in your speaking notes, or if your lighting changes mid-shoot, you often have to re-record the entire scene. With a modern, model-agnostic workflow, video creation becomes modular, allowing you to edit visual assets with the same ease as correcting a typo in a text document.
Step-by-Step Reverse Engineering: How the Pipeline Worked
To produce my web development course, I designed a structured, three-phase generation pipeline that translated my raw scripts into dynamic visual modules.
codeCode
[Written Lesson Script] ➔ [VideoAI "Text with Reference"] ➔ [Base Visual Scene]
⬇ (Apply Motion Sync)
[Dynamic Talking Character]
⬇ (Apply Lip-Sync & Audio)
[Completed Course Module]
Phase 1: Structuring the Visual Foundation
I began by breaking my lesson scripts down into short, visual paragraphs. I did not want the videos to look like generic slideshows, so I needed custom characters that looked like professional instructors.
Using the "Text With Reference" module inside VideoAI, I uploaded a high-resolution, static portrait of my desired instructor character. I then paired that reference image with descriptive text prompts, such as: "instructor standing in front of a clean, dark-themed coding IDE workspace, professional lighting, cinematic style." The system rendered a series of consistent, high-fidelity visual scenes that preserved the character's facial features across different lessons.
Phase 2: Animating Static Diagrams
An educational course needs clear diagrams to illustrate abstract concepts like API routing and database queries. I took my basic, static architectural diagrams and fed them into the "Frame to Video" generator.
By adding specific motion control commands, I instructed the engine to slowly zoom in on specific nodes of the diagram as the explanation progressed. This converted flat, static images into engaging visual guides, keeping the viewer's focus directly on the concept being taught.
Phase 3: Lip-Syncing and Adding Auditory Cues
The final step was adding voiceovers and aligning them with my generated characters. I uploaded my pre-recorded lesson audio files directly into the "Lip-Sync" workspace.
The software analyzed the vocal patterns and automatically synchronized the digital instructor's mouth movements with the audio. To make the transitions feel more natural, I used the "Add Sound Effect" feature to insert subtle digital clicks and soft swishes as my on-screen code blocks updated.
Why a Multi-Model Ecosystem Changes the Game
One of the biggest issues with early generation tools was model lock-in. If a platform only supported a single, proprietary video model, you were stuck with whatever aesthetic that specific model produced—which often resulted in a plastic, unnatural look.
VideoAI circumvents this limitation by operating as an open, multi-model creative hub. Instead of being locked into a single model, having access to an agile AI video generator that lets you toggle between Kling, Seedance, Veo, and Wan is a massive advantage.
Each of these underlying models has distinct strengths. Kling excels at preserving physical realism and complex motion, making it perfect for scenes where my instructor characters needed to gesture naturally. Seedance, on the other hand, handles precise character styling with incredible consistency, while Veo delivers crisp, high-resolution background environments. By matching the specific requirements of each lesson to the model best suited for the task, I avoided the generic "AI look" and maintained a highly professional aesthetic throughout the series.
Lessons in Creative Control and Quality Guardrails
While the speed of this workflow is highly impressive, it is important to maintain realistic expectations about the technology. AI-driven video creation is not a magic solution that outputs flawless, ready-to-publish campaigns on the first try. It requires careful creative direction, iterative testing, and structured quality control.
During my production process, I encountered several instances of visual drift—such as characters' clothing subtly changing color between scenes or hands rendering with unusual geometry. To keep these errors from ruining the final course, I established a strict set of quality guardrails:
- Segment Your Generative Prompts: Keep your video clips short (typically 3 to 5 seconds). Generating short clips reduces the likelihood of rendering errors and gives you more precise control over the visual pacing.
- Keep Your Backups Handy: Always maintain your original static reference images. If a character's face starts to drift in a generated scene, re-upload the original reference image to anchor the facial structure.
- Manual Review is Non-Negotiable: Never publish generated assets without a thorough human review. Take the time to stitch the clips together in a traditional editor to verify that the visual transitions, pacing, and audio alignments are tight and professional.
The Future of Democratized Visual Storytelling
As these tools continue to mature, the role of a creator shifts from a manual editor to a creative director, using a high-fidelity AI video generator to build the scaffolding of their vision. This shift democratizes visual storytelling, allowing educators, independent developers, and small teams to share their knowledge without being limited by production budgets or technical camera skills.
By treating video creation as an iterative, modular process, I was able to focus my energy entirely on the quality of my curriculum rather than the physics of my lighting rigs. The camera is no longer the gatekeeper of high-quality educational content; the strength of your ideas is now the only limit.








Privacy is important to us, so you have the option of disabling certain types of storage that may not be necessary for the basic functioning of the website. Blocking categories may impact your experience on the website. View Our Privacy Policy


