
Your Guide to LinkedIn Video Specifications
If you're in a hurry and just need the essential linkedin video specifications, here’s the bottom line: stick with an MP4 file, choose a mobile-friendly aspect ratio like 1:1 (square) or 4:5 (vertical), and for organic posts, keep your video under 15 minutes. For ads, the platform is much stricter. You'll need to keep the file size under 200MB and aim for a length of 30 seconds or less to hold onto your audience's attention.
Your Go-To LinkedIn Video Specs Checklist
Think of this section as your cheat sheet for the most important video requirements on LinkedIn. I've broken down the key differences between organic feed videos and paid video ads into a simple table. It’s designed for anyone who needs the right specs, right now, without having to sift through pages of documentation.
First, here's a quick visual rundown of the top-level specs you'll want to keep in mind for your native video uploads.

As you can see, the limits for organic video are pretty generous, which really opens the door for posting higher-quality, longer-form content compared to what's allowed in paid placements.
LinkedIn Video Specifications Quick Lookup Table
This table offers a comprehensive summary of the key technical requirements for the most common LinkedIn video placements, including organic feed posts and video advertisements.
SpecificationLinkedIn Feed Video (Native)LinkedIn Video AdRecommended FormatsMP4 (with H.264/AAC codecs)MP4 (H.264/AAC required)Max File Size5 GB200 MBVideo Duration3 seconds – 15 minutes3 seconds – 30 minutesAspect Ratio1:2.4 to 2.4:1 (1:1 or 4:5 recommended)1:1, 4:5, 9:16, or 16:9Frame RateUp to 60 FPS (30 FPS recommended)Up to 30 FPSResolution256x144 to 4096x2304360p to 1080p
LinkedIn's video specs haven't always been this way; they've definitely evolved. A notable update back in 2020 bumped up the maximum length for native videos uploaded from a desktop from 10 to 15 minutes (though mobile uploads are still capped at 10 minutes). The file size for organic posts was also set at a massive 5GB, whereas ads are still kept at a lean 200MB to make sure they load quickly for users.
Key Takeaway: The single biggest difference between organic and paid video on LinkedIn is the file size. Organic posts can be up to a hefty 5GB, which is perfect for longer, high-quality storytelling. In contrast, video ads are capped at 200MB to prioritize performance and a smooth user experience.
And while we're focused on LinkedIn, having a solid grasp of the essential social media post dimensions across all major platforms is a huge advantage for any content creator. It’s a great resource to keep in your back pocket.
Understanding Core Technical Video Requirements

To make sure your videos upload without a hitch and look sharp, it helps to get a handle on the technical details. Nailing these core requirements is the secret to avoiding frustrating upload errors and ensuring your content looks its best on the platform's player. Think of these specs as the language your video file needs to speak for LinkedIn to understand it perfectly.
The first and most critical piece of the puzzle is the file format, which is basically the container holding all your video and audio data. The gold standard for all linkedin video specifications is MP4. While you might get away with other formats like ASF or FLV for an organic post, sticking to MP4 guarantees it will work. For video ads, it's not just a recommendation—it's a hard requirement.
Codecs: The Engine of Your Video File
Tucked inside that MP4 container are codecs, the software that compresses and decompresses your video and audio streams. This compression is what makes video files small enough to be sent over the internet without taking forever.
- Video Codec (H.264): LinkedIn’s go-to recommendation is the H.264 codec, sometimes called AVC. It’s the industry standard for a reason, offering a fantastic balance between crisp video quality and a reasonable file size. Trying to use other codecs is often a direct path to upload failures.
- Audio Codec (AAC): For sound, the platform prefers AAC (Advanced Audio Coding). This format produces great-sounding audio at low bitrates, making it the perfect partner for H.264 video. Just make sure your audio sample rate is 48 kHz or lower to steer clear of any issues.
Getting the codecs right is non-negotiable if you want a smooth upload process. Setting your video editor to export with H.264 and AAC is the surest way to meet LinkedIn's technical benchmarks every time.
Expert Tip: I always tell people to think of a codec like a language. If you send LinkedIn a video in a language it doesn't understand (an unsupported codec), it won't be able to "read" the file. H.264 and AAC are the languages LinkedIn is completely fluent in.
Balancing Quality and Performance
Beyond the file format and codecs, two other settings—frame rate and bitrate—have a huge impact on how your video looks and performs. Figuring out how they work together is the key to creating a high-quality video that doesn't balloon into a massive file.
Frame Rate (fps)
Frame rate, measured in frames per second (fps), dictates how smooth the motion in your video appears. LinkedIn supports up to a buttery-smooth 60 fps, but for most professional content, a standard of 30 fps is more than enough. This rate gives you fluid motion without unnecessarily bloating the file size, which is a big deal for video ads that are capped at a strict 200MB limit.
Bitrate (kbps/Mbps)
Bitrate is the amount of data used to encode each second of video. A higher bitrate means better quality but also a bigger file. If your bitrate is too low, you’ll end up with distracting pixelation and blur, even if your resolution is high. As a rule of thumb, for a standard 1080p video, I aim for a bitrate between 5,000 and 8,000 kbps (or 5-8 Mbps). This gives you enough quality to withstand the compression LinkedIn applies on its end.
Specifications for Organic LinkedIn Video Posts
When you share a video on your personal profile or company page without any ad spend behind it, that's organic content. The LinkedIn video specifications for these native posts are much more forgiving than for paid ads, which gives you a lot of room to experiment with longer, more in-depth content that truly connects with your network.
Getting these specs right is the first step to making sure your video looks polished and performs well. LinkedIn’s generous limits on file size and length are perfect for sharing things like expert interviews, detailed product demos, or even behind-the-scenes stories from your company. This flexibility is a huge plus for anyone focused on building a community, not just running a campaign.
Duration and File Size Allowances
One of the biggest advantages of organic video on LinkedIn is how long your videos can be. You can upload videos up to 15 minutes long straight from your desktop. That's a massive leap from the 60-second clips common on other platforms, opening the door for some serious storytelling. Just a heads-up, if you're uploading from the LinkedIn mobile app, the limit is a bit shorter at 10 minutes.
To go along with these longer runtimes, LinkedIn gives you a hefty file size limit.
- Maximum File Size: You can upload a video file up to 5 GB.
- Minimum Duration: Your video has to be at least 3 seconds long.
That huge 5 GB limit means you don’t have to crush your video with compression and kill the quality. You can export your file at a healthy bitrate, so it stays looking sharp and professional even after LinkedIn processes it on their end.
Pro Tip: While you can upload a 5 GB file, you probably don't need to. A well-optimized 10-minute 1080p video will usually land somewhere between 200MB and 500MB. Sticking to that range will make your uploads and processing much faster, and no one watching will notice a difference in quality.
Mastering Aspect Ratios for the Feed
Picking the right aspect ratio is a game-changer for grabbing attention in a busy feed. Since most people are scrolling on their phones, vertical video has a clear edge because it simply takes up more screen space. LinkedIn supports a wide range, from a tall 1:2.4 to a wide 2.4:1, but a few formats consistently deliver the best results.
Here’s a quick look at the most effective aspect ratios:
- Vertical (4:5): This is pretty much the gold standard for mobile. It fills up most of the phone screen without getting awkwardly cut off on a desktop view.
- Square (1:1): A classic and safe bet. Square video looks great on both mobile and desktop, making it a reliable, all-around format.
- Landscape (16:9): The traditional widescreen format is still a solid choice, especially if you're repurposing content from a platform like YouTube or if your video is meant to be watched on a bigger screen.
- Full Vertical (9:16): While LinkedIn supports it, this super-tall format is really only ideal for a mobile-first experience. On a desktop, it will show up with big black bars on the sides (pillarboxing), which doesn't look great.
Getting LinkedIn Video Ad Specs Right
If you're running paid campaigns on LinkedIn, you need to play by a different set of rules. The video specs for ads are much stricter than for organic posts, and for good reason. It's all about making sure your ads load lightning-fast and look sharp, which is non-negotiable for getting solid campaign performance.
One of the biggest differences you'll notice right away is the file size. While you can upload a massive 5GB file for a regular post, video ads are capped at a much tighter 200 MB.
- Maximum File Size: 200 MB
- Minimum Duration: 3 seconds
This smaller file size is a blessing in disguise. It ensures your ad pops up quickly, even for someone on a shaky connection, stopping them from scrolling right past before your video even gets a chance to play. It really pushes you to be smart about video compression without making your ad look grainy.
Ad Duration: Shorter is Almost Always Better
You can technically upload a video ad that’s 30 minutes long, but I wouldn't recommend it. That's an eternity in the world of feed scrolling. All the data, including LinkedIn's own, shows that shorter, punchier ads are the way to go for a professional audience.
LinkedIn’s official recommendation is to keep your ad between 15 and 30 seconds. This is the sweet spot for getting high completion rates.
Think about it—you want people to actually see your main point. For general brand awareness, I’d even aim for under 15 seconds. If you're doing a more in-depth product demo, you can stretch toward that 30-second mark, but always, always put your hook and key message in the first three seconds.
Choosing the Right Aspect Ratio
The shape of your video matters more than you think. Picking the right aspect ratio ensures your ad takes up as much screen real estate as possible, especially on mobile. LinkedIn gives you a few options to work with.
- Square (1:1): This is my go-to for versatility. It looks great on both desktop and mobile feeds without any awkward cropping.
- Vertical (4:5 and 9:16): Built for the mobile experience. These formats fill up the screen on a phone, making them much harder to ignore. Keep in mind, a 9:16 ad will only be shown to mobile users.
- Landscape (16:9): The classic widescreen format. It’s perfect if you’re repurposing a video from YouTube or your website.
LinkedIn’s ad specs are all about optimizing for quality and speed. That’s why they prefer the MP4 format using an H.264 codec, with a frame rate of 30fps—it's the universal standard for smooth playback everywhere.
Of course, knowing the specs is just one piece of the puzzle. The real magic happens when you create effective video ads that connect with your audience. And if you want a simpler way to get your ads built without diving deep into video editing software, our guide to using a LinkedIn ad builder is the perfect place to start.
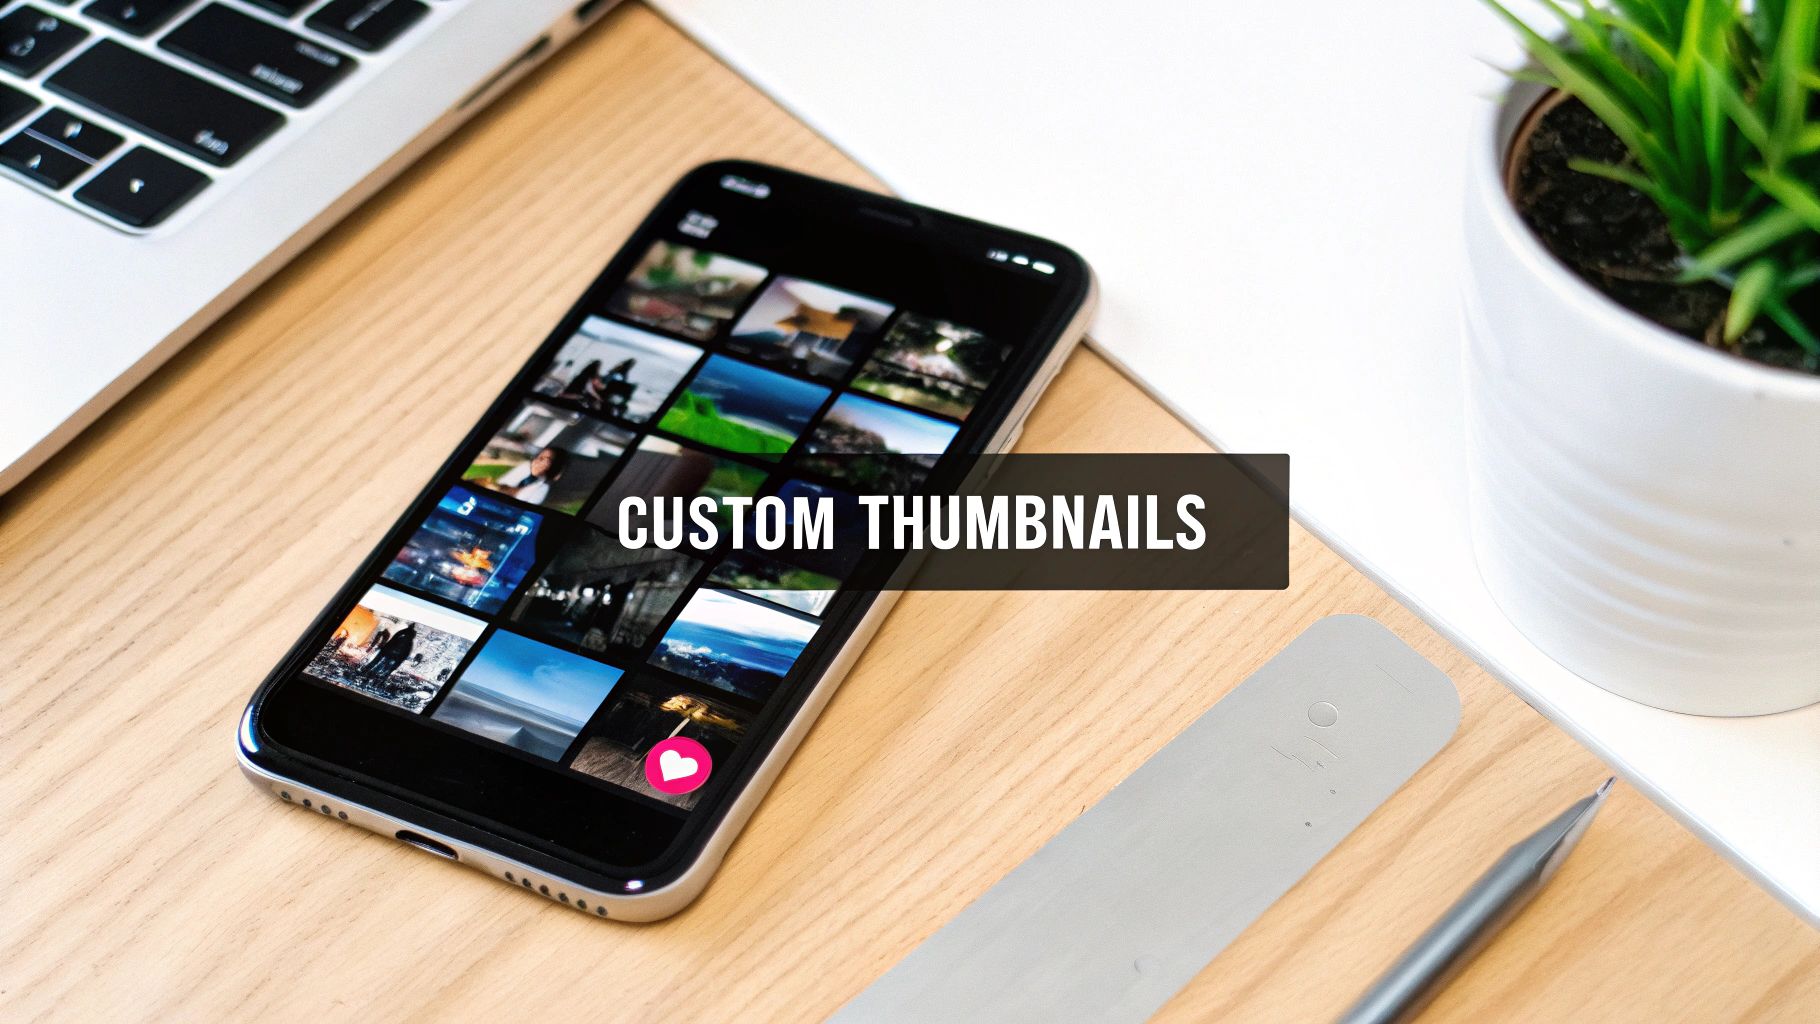
Optimizing Thumbnails and Captions for Engagement
You can nail every single technical requirement, but if people just scroll past your video, all that effort is wasted. This is precisely where your thumbnail and captions come into play. They are the gatekeepers to engagement, turning a perfectly encoded video into one that people actually stop to watch and understand.
Your video's thumbnail is its first handshake in the feed. If you let it, LinkedIn will just grab a random frame from your upload to serve as the preview—and trust me, it’s rarely a good one. That’s why creating and uploading a custom thumbnail isn’t just a nice-to-have; it's a must-do for any serious video strategy on the platform.
Crafting an Effective Video Thumbnail
Think of your thumbnail as a mini movie poster. Its one job is to get someone to hit "play." The technical side is simple, but the real magic is in the design strategy.
- File Format: Stick with JPG or PNG.
- Maximum File Size: Make sure it’s under 2 MB.
- Aspect Ratio: Your thumbnail’s aspect ratio has to match your video’s. If you have a 1:1 square video (1080x1080), your thumbnail must also be 1:1.
Design-wise, aim for an image that’s high-contrast and free of clutter. A clear, expressive face or a compelling product shot usually performs well. I also recommend overlaying a short, bold title to give people immediate context and a reason to click.
Key Insight: Treat your thumbnail and the first three seconds of your video as a single unit. The thumbnail makes a promise, and your video's opening moments must deliver on it instantly to keep the viewer from scrolling away.
The Critical Role of Video Captions
Let’s face it: most people watch videos on social media with the sound off. This makes captions absolutely essential if you want your message to land. LinkedIn gives you the option to upload a separate caption file, which is the best way to go for both organic posts and video ads.
The industry-standard format is the SubRip Subtitle file, better known as an SRT file. You can create these easily using most video editing software or dedicated transcription services. Uploading an SRT file instead of burning the captions directly into your video has another huge advantage—it makes the text in your video searchable on the platform, boosting discoverability.
This is a cornerstone of any effective LinkedIn video sharing strategy. To dig deeper into getting your content in front of more eyes, check out our guide on how to boost your professional presence and engagement with LinkedIn video sharing. Using captions properly ensures your message connects with everyone, sound on or off, making your content far more inclusive and impactful.
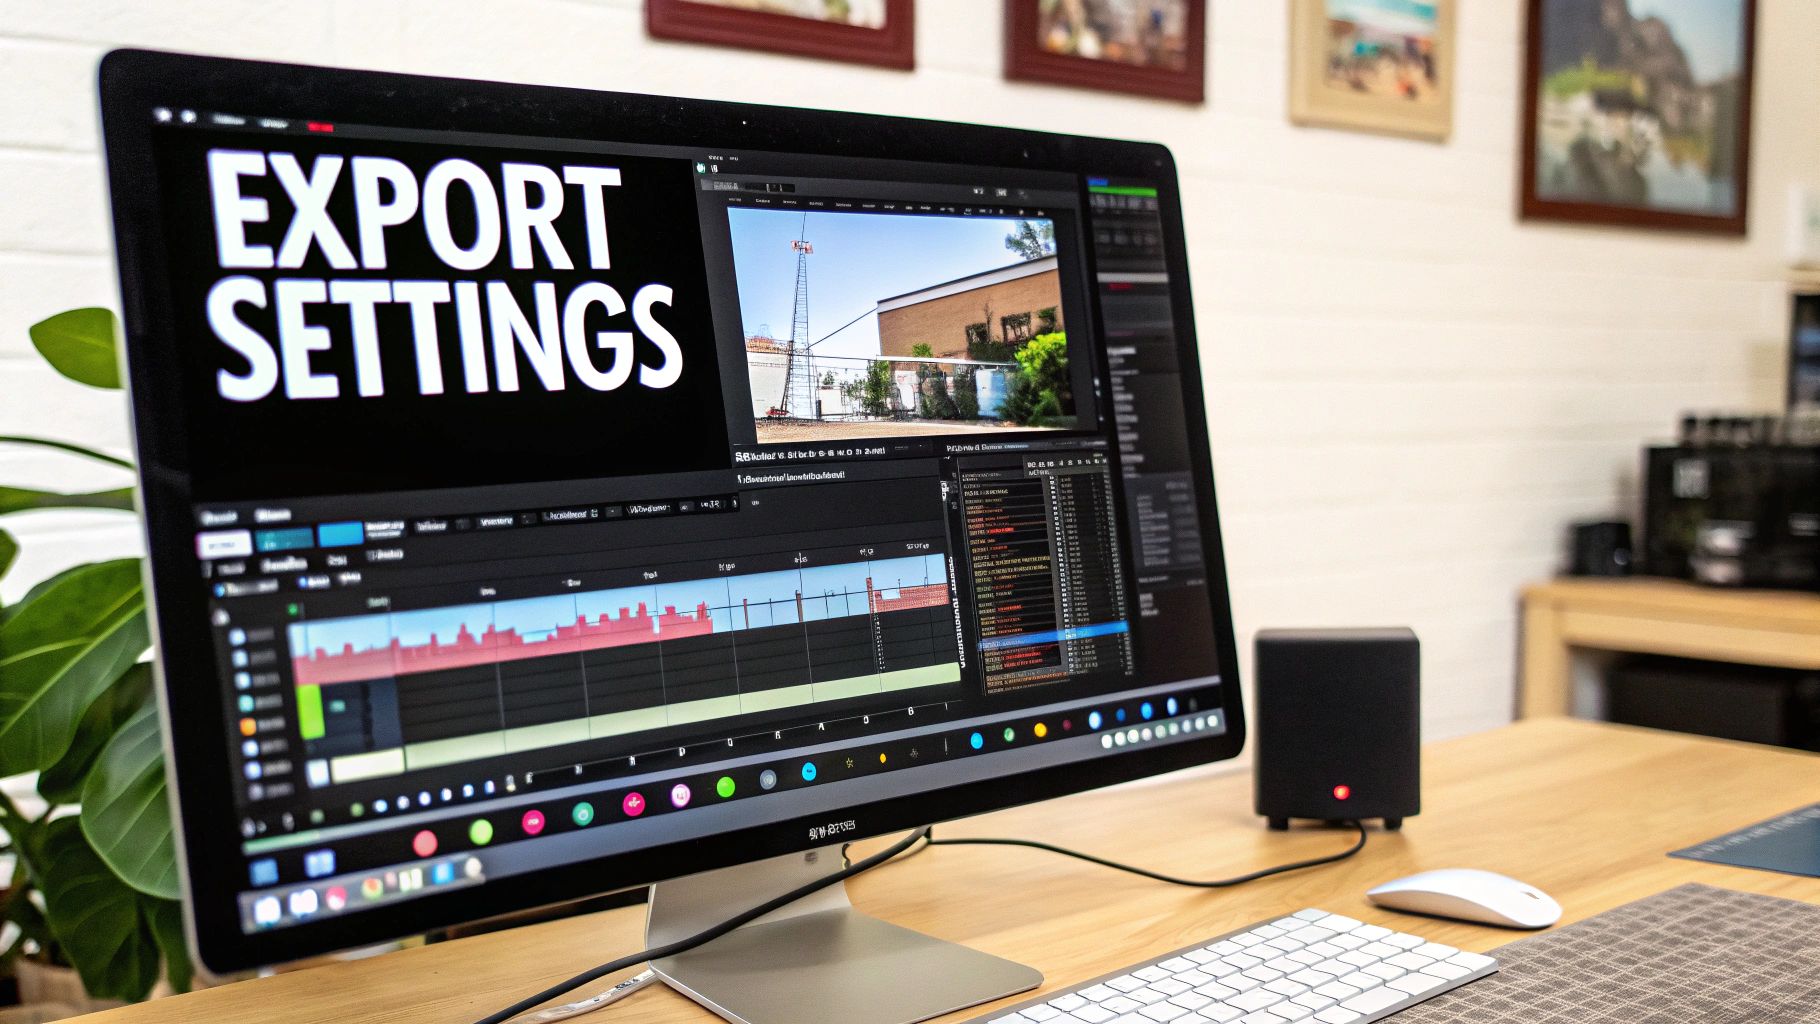
Video Export Settings for Popular Editing Software
Knowing the rules is one thing, but actually translating those technical specs into your video editor's export panel can be a real headache. To take the guesswork out of it, I've put together some specific presets and walk-throughs for the most common editing software.
Following these checklists will help you sidestep those frustrating upload errors and quality issues. The goal is to get a technically perfect file right from the start.
Recommended Export Settings for Adobe Premiere Pro
If you're one of the many creators using Adobe Premiere Pro, you know how much control its export panel gives you. My advice? Set up a custom preset specifically for LinkedIn. It's a massive time-saver and ensures every video you make is perfectly consistent.
Here’s a reliable preset you can create and save.
- Head to the Export window (File > Export > Media).
- The most important step: set your Format to H.264. This ensures you're using the right video codec.
- Jump over to the Video tab. Match your sequence settings for resolution and frame rate—for example, 1080x1350 at 30 fps.
- For bitrate, choose VBR, 1 Pass. A Target Bitrate of 8 Mbps and a Maximum Bitrate of 10 Mbps is the sweet spot for balancing quality and file size.
- Finally, in the Audio tab, pick AAC for the Audio Format and set the Sample Rate to 48000 Hz.
Once you've dialed in these settings, just click the "Save Preset" icon next to the Preset dropdown. I call mine "LinkedIn Video Export" so it's easy to find. Seriously, this one-time setup makes the whole process so much smoother for future projects.
To make it even easier, here are the key settings laid out in a simple checklist format.
Recommended Export Settings for Adobe Premiere Pro
SettingRecommended ValueNotesFormatH.264This is non-negotiable for creating a compatible MP4 file.ResolutionMatch Source (e.g., 1920x1080)Ensure this matches your intended aspect ratio.Frame RateMatch Source (e.g., 29.97 or 30 fps)Stick to standard rates between 24 and 60 fps.Bitrate EncodingVBR, 1 PassVariable Bitrate offers a good mix of quality and efficiency.Target Bitrate8 MbpsA solid target for most high-quality feed videos.Maximum Bitrate10 MbpsThis caps the data rate to keep file sizes manageable.Audio FormatAACThe standard audio codec for web video.Sample Rate48000 HzHigh-quality audio is crucial, even for muted playback.
Once you've dialed these in, you'll have a rock-solid export preset ready to go for all your LinkedIn content.
A Note on Final Cut Pro and DaVinci Resolve
Don't worry if you're working in Final Cut Pro or DaVinci Resolve. While the interface looks different, the core principles are exactly the same. You're still aiming to create an MP4 file with the right codecs and bitrate.
Universal Export Checklist: No matter what software you're using, these are the golden rules: Format MP4, Video Codec H.264, and Audio Codec AAC. This trio is the universal language of online video and will always work on LinkedIn.
In Final Cut Pro, just use the "Share" command and pick "Master File." From there, set the format to "Computer," which defaults to an H.264 MP4. In DaVinci Resolve, you'll head to the "Deliver" page, choose the "Custom Export" or "YouTube" preset, and then tweak the settings to meet the H.264/AAC requirements. Just remember to double-check that your resolution and frame rate match your project goals before you hit render.
Troubleshooting Common LinkedIn Video Upload Errors
It happens to the best of us. You've followed all the linkedin video specifications perfectly, but your upload still hits a snag. It’s frustrating, but these problems usually boil down to a few common technical hiccups that are surprisingly easy to fix once you know what to look for.
Let's walk through how to diagnose and solve the most frequent errors, from that mysterious "processing failed" message to your video suddenly looking blurry after it goes live.
The Dreaded "Processing Failed" Message
Getting a "processing failed" or "media could not be processed" error is by far the most common roadblock. Nine times out of ten, this points directly to a problem with your video or audio codecs. While LinkedIn is flexible with file formats, it has very specific preferences for what’s inside that file.
- Unsupported Video Codec: Your video might be in a friendly MP4 container, but the codec inside could be something LinkedIn doesn't like. The platform is built around H.264 (AVC). If you used something else, your best bet is to re-export and explicitly set the codec to H.264. This one change solves the majority of processing failures.
- Unsupported Audio Codec: The same rule applies to audio. Your sound needs to be encoded with AAC (Advanced Audio Coding). If you exported with an MP3 or another audio format, it can cause the entire upload to hang and eventually fail.
- Corrupted File: On rare occasions, the file itself gets corrupted during the export or transfer. Before you start pulling your hair out, just try exporting the file from your editing software one more time. It's a quick and simple step that can save you a lot of grief.
If you’ve double-checked your codecs and the file isn't corrupt, the next thing to investigate is the file's metadata for any weird inconsistencies that might be confusing LinkedIn's servers.
Solving Poor Video Quality and Distortion
Another classic complaint is having a video that looks crisp on your desktop but appears blurry or pixelated once it’s on LinkedIn. This is a direct result of the platform's compression algorithms. You can’t avoid the compression, but you can feed it a higher-quality file to start with, which leads to a much better-looking final product.
Expert Tip: The single most important factor for post-upload quality is your video's bitrate. When you export, aim for a higher bitrate—something like 8,000-10,000 kbps for a 1080p video. This gives LinkedIn's servers more data to work with, minimizing the visible quality loss after it applies its own compression.
If your video looks stretched or squashed, that's almost always an aspect ratio issue. This usually happens when the pixel aspect ratio in your export settings is off. Make sure you always set this to "Square Pixels (1.0)" in your project and export settings. This ensures the frame dimensions you chose (like 1080x1080) are interpreted correctly, preventing any weird distortion on the platform.
Common Questions About LinkedIn Video (FAQ)
Even with all the specs laid out, you'll inevitably run into a few head-scratchers when you're deep in an edit. This FAQ section tackles the most common questions we hear, giving you quick answers to keep your project moving.
What’s the Absolute Best Video Format for LinkedIn?
Stick with MP4. It's the gold standard for a reason. Specifically, you want an MP4 container with an H.264 video codec and AAC audio. This combo gives you the best of both worlds: crisp video quality without a massive file size, ensuring smooth playback for everyone.
Sure, LinkedIn says it accepts other formats like ASF, AVI, and FLV for organic posts. But in our experience, they can be buggy. To avoid frustrating upload errors, especially with video ads, just export as an MP4 with H.264/AAC. It’s the safest bet.
Can I Upload a 4K Video?
Technically, yes, you can upload a 4K (3840 x 2160 pixels) file. But you really shouldn't. LinkedIn’s player tops out at 1080p (1920 x 1080 pixels), so the platform will just compress and downscale your beautiful 4K footage anyway.
All you get from uploading a 4K video is a massive file, painfully long upload and processing times, and zero visible benefit to your audience. Save yourself the headache and export directly at 1080p.
Why Does My Video Look Blurry After I Upload It?
That dreaded pixelation is almost always a result of LinkedIn's compression. The platform has to shrink video files to make them stream smoothly for users on different devices and internet speeds. If your source file isn't robust enough, the compression can make it look muddy.
The fix? Give LinkedIn's algorithm more to work with. Export your video at a higher bitrate—aim for a healthy 5,000 to 8,000 kbps for a 1080p video. Also, double-check that your resolution is exact for your chosen aspect ratio (e.g., 1080x1350 for a 4:5 vertical video, not something slightly off).
Key Takeaway: A high-bitrate source file is your best defense against compression artifacts. Uploading a low-quality video just guarantees that the final result on LinkedIn will look even worse.
Tired of manually tweaking video settings? At quickads.ai, we use AI to generate stunning, spec-compliant video and image ads in seconds, so you can focus on strategy instead of settings. Create your high-performance ads today.


Privacy is important to us, so you have the option of disabling certain types of storage that may not be necessary for the basic functioning of the website. Blocking categories may impact your experience on the website. View Our Privacy Policy


