
How to Make Product Demo Videos That Convert
Before you even think about hitting record, we need to talk strategy. I've seen too many companies burn time and money on slick-looking demos that completely miss the mark. Why? They skipped the most important part: the planning.
A great product demo isn't just a tour of your features. It's a carefully crafted story designed to solve a specific problem for a specific person.
Building Your Demo Video Strategy
Jumping straight into recording without a plan is like trying to build a house without a blueprint. You might end up with something that stands, but it’s not going to be effective or hold up over time. The most successful product demos I've ever produced were built on a solid strategic foundation long before a camera was even in the room.
This is the phase where you make the critical decisions that determine whether your video will actually connect with viewers and drive results. It's about being intentional with every single element, from the first frame to the final call to action.
Pinpoint Your Ideal Customer
First things first: you have to know exactly who you're talking to. A demo for a seasoned developer needs to be technically sharp and get straight to the point. A demo for a small business owner who isn't a tech expert? That needs to be framed around simplicity and saving time.
If you try to make a generic video for everyone, you'll end up connecting with no one.
To get this right, you have to dig deep. Ask yourself:
- Who is the actual end-user? Think about their job title, their industry, and what a typical day looks like for them.
- What's their biggest headache? Get specific about the problem or frustration that your product is built to solve. What's the thing that keeps them up at night?
- What does success look like for them? Understand their primary goal and how your product is the bridge that gets them there.
- What are their hang-ups? Anticipate their objections. Is it the price? The learning curve? Integration with other tools?
Answering these questions gives you the intel you need to tailor your language, choose relevant examples, and frame your product as the no-brainer solution for their world.
A great product demo doesn't just show what your product does; it shows a potential customer what their life could be like with your product. It bridges the gap between features and transformation.
This whole process really boils down to a simple, three-step flow: figure out your audience, nail down your message, and then pick the right format to bring it all together.
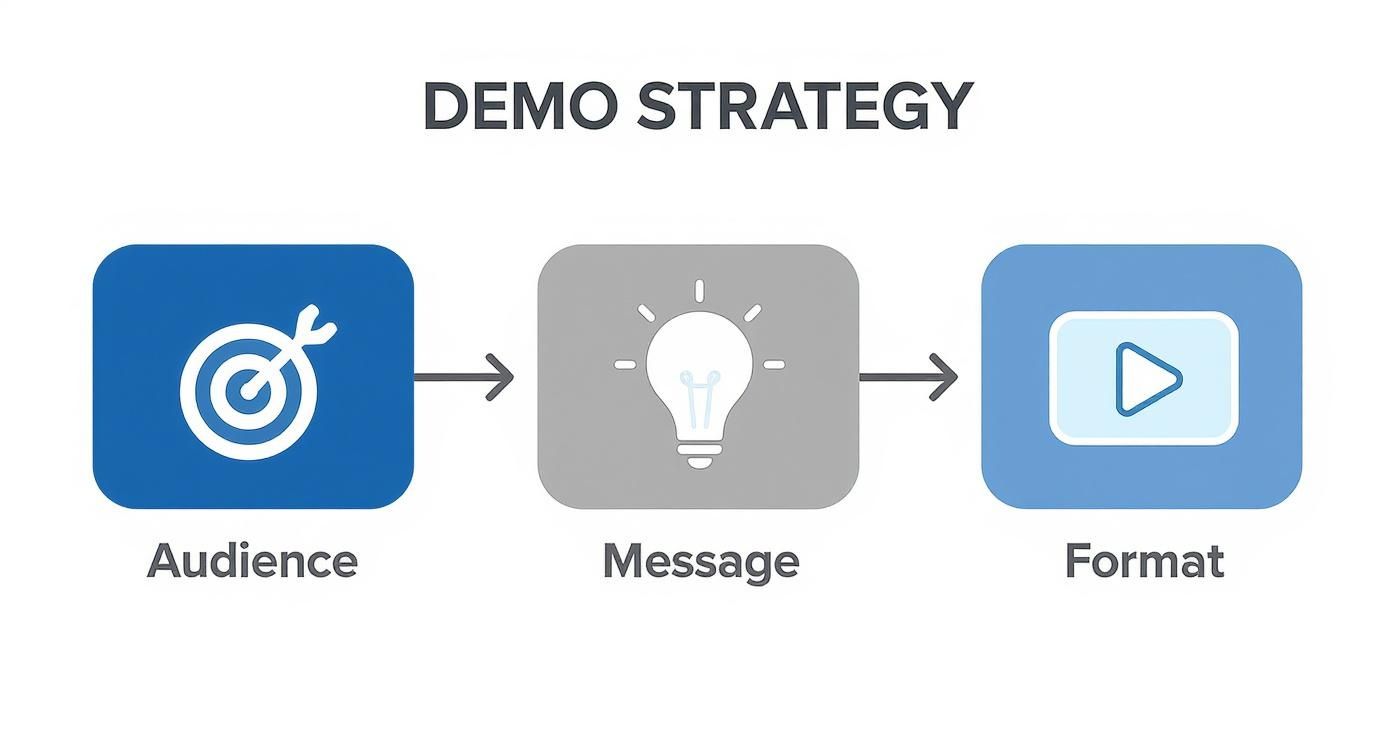
This workflow isn't just a suggestion—it's the core of a successful video strategy. Everything flows from a deep understanding of your audience.
Craft Your Core Message and Choose a Format
Once you have a crystal-clear picture of your ideal customer, you can build a core message that actually hits home. This isn't a laundry list of features. It's the one big, powerful idea you want them to remember.
For example, don't say, "Our software has a scheduling feature."
Instead, say, "Effortlessly reclaim 10 hours a week by automating your entire meeting schedule." See the difference? One is a function; the other is a benefit.
With your message locked in, it's time to choose the best vehicle to deliver it. Selecting the right format is key, as each has its own strengths for different products and audiences.
Choosing Your Product Demo Video Format
This table breaks down the most common formats to help you decide which approach will work best for your message and your audience.
The format you choose has a massive impact on how your message lands. It's no wonder that creating product demo videos remains one of the most powerful moves in a marketer's playbook. In fact, industry research shows that 53% of video marketers are producing product demos, making it the fourth most popular video type out there.
This isn't just a trend; it's a testament to how well demos work for showing off what a product can do. If you want to dive deeper, you can explore the full study on video marketing trends to see just how critical video has become for converting prospects.
Crafting a Compelling Demo Script and Storyboard
Alright, you've got your strategy nailed down. Now for the fun part: building the actual story that will bring your product to life. A great demo is never just a feature tour. It's a journey, one that takes your audience from a familiar point of frustration to a new reality where that problem is solved.
This is where you make it real. Your script is the soul of your video, and the storyboard is its skeleton. Skipping this stage is like trying to build a house without a blueprint—it leads to a confusing, disjointed mess that fails to connect with anyone. Putting in the work here saves you from expensive reshoots and countless hours of frustration in the editing bay.
The Problem-Solution-Transformation Arc
The most powerful product demos tap into a simple narrative that just works. Instead of rattling off a list of features, you wrap them in a story your customer immediately recognizes as their own.
It breaks down into three simple parts:
- The Problem: Start by hitting on the exact pain point your audience is wrestling with. This isn't about scaring them; it's about showing you get it. You're validating their struggles and demonstrating a deep understanding of their world before you ever mention your product.
- The Solution: Now, you bring in your product as the hero. But don't just show off the UI. Show how it directly crushes the problem you just laid out. Every feature you highlight should be a direct answer to the pain they're feeling.
- The Transformation: End by painting a clear picture of the "after" state. What does their life or work look like now? Show them the promised land—less stress, more time, bigger wins. This is the outcome that gets them to click.
This storytelling arc turns a basic walkthrough into a compelling case for your product. It forges an emotional connection by centering the entire narrative on the viewer's journey.
Scripting for Clarity and Impact
Your script isn't just about what you'll say; it sets the entire pace and feel of the video. The goal is to sound like a helpful expert, not a robot reading a manual. The secret? Write for the ear, not the eye.
Use short sentences. Keep the language simple. And please, read your script out loud. You'll instantly catch any clunky phrases or overly technical words that sound unnatural. If it's not something you'd say in a real conversation, it needs a rewrite.
My Two Cents: Your mission is clarity, not complexity. Ditch the jargon unless you’re absolutely certain your audience speaks that language. The simpler you can make your message, the more people it will reach and resonate with.
If staring at a blank page feels daunting, you're not alone. Technology can be a fantastic co-pilot here. You can discover the best AI script generator strategies today to get a running start and make sure your messaging is on point right from the beginning.
Visualizing Your Story with a Storyboard
With a solid script in hand, it’s time to visualize it with a storyboard. And no, you don't need to be an artist. A storyboard is just a visual plan that maps out what happens on screen for every line of your script. It can be as simple as a few stick figures, some rough screenshots, or even just text descriptions in a document.
Your storyboard should map out a few key things:
- What we're seeing: Is it a screen recording? An animated graphic? A shot of a person using the product?
- What's happening: Make a note of critical actions, like a cursor clicking a button or a specific workflow being completed.
- Any on-screen text: Where will you add titles, captions, or callouts to emphasize a point?
- The flow: How do you move from one scene to the next? Thinking about transitions now ensures the final video feels smooth and professional.
This visual blueprint is your final check to make sure the script and visuals are working together perfectly. It helps you spot pacing problems or visual gaps before you waste time recording. In fact, understanding how to structure a winning presentation offers great insights that apply directly to video, helping you sequence your story for maximum impact.
Combine a sharp script with a clear storyboard, and you’ve got a detailed roadmap for a product demo that doesn't just inform—it sells.
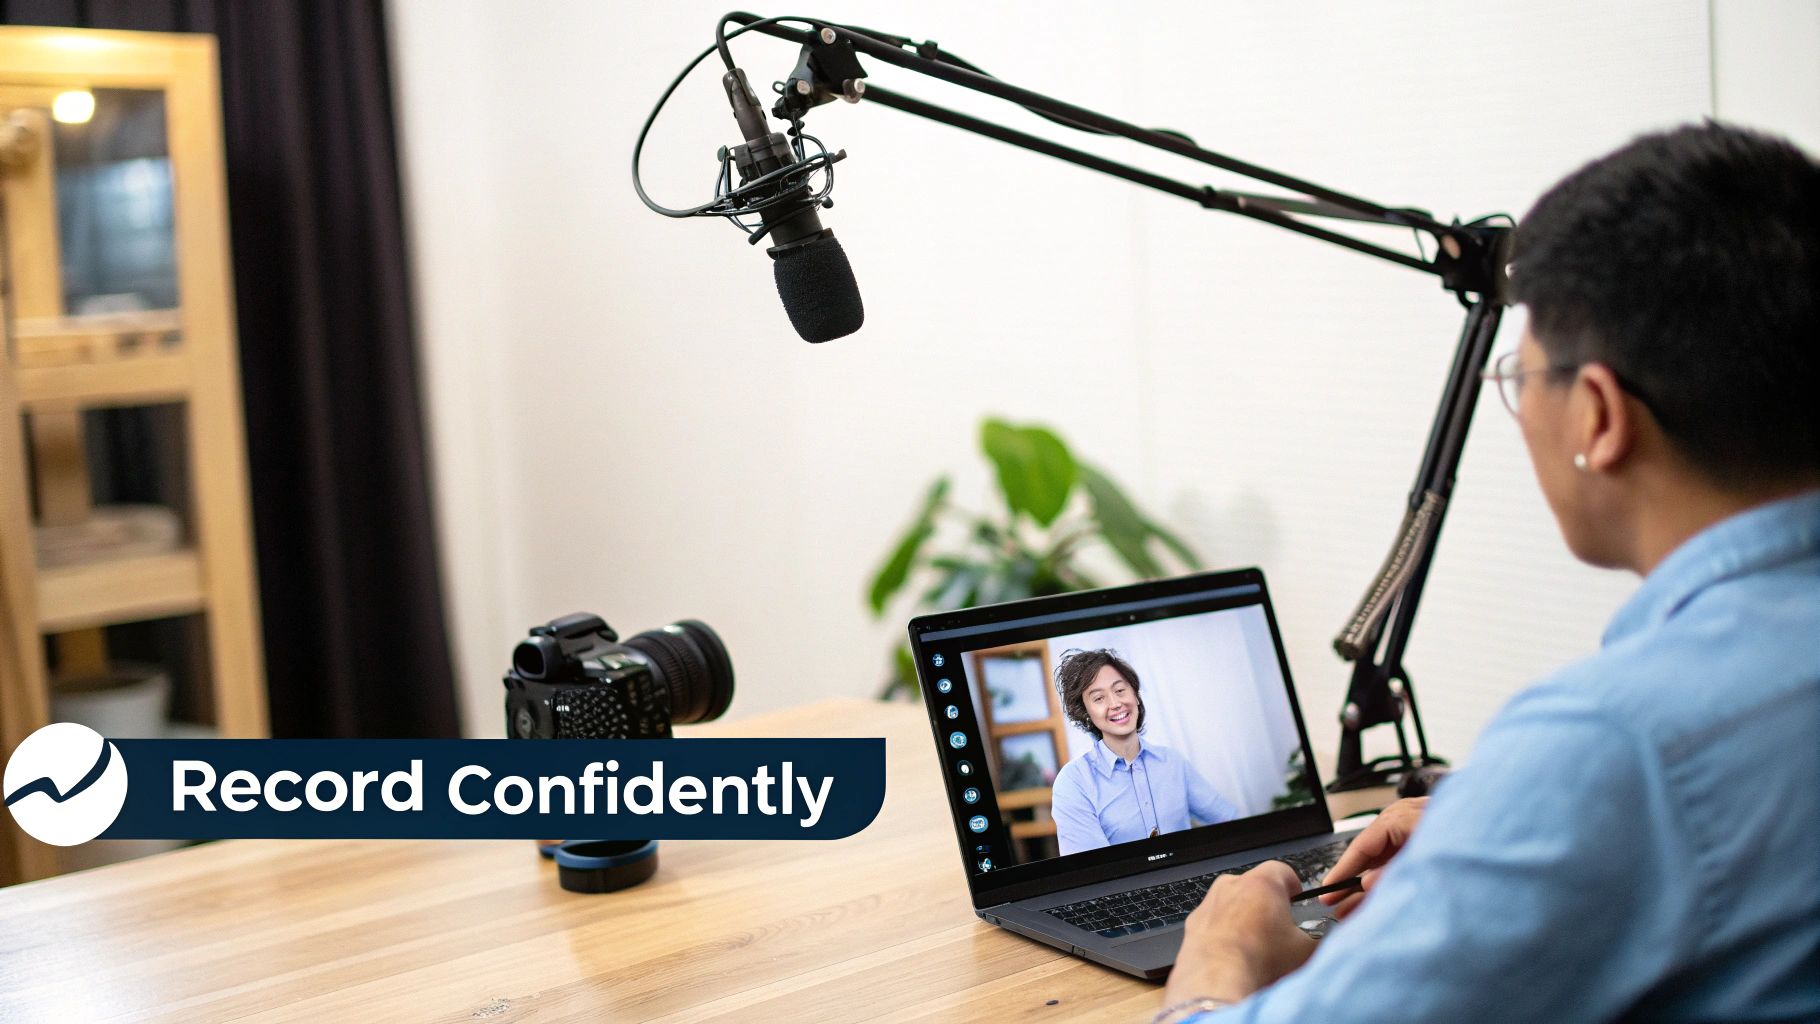
Recording Your Demo with Confidence
Alright, you've got your script and storyboard locked in. Now for the fun part: bringing it all to life on camera. This is where all that planning really starts to pay off, turning your concepts into actual footage. Whether you're recording your screen, stepping in front of the lens yourself, or mixing it up, the goal is the same—a professional, compelling video. And no, you don't need a Hollywood budget to get there.
The secret is to focus on three things that make the biggest impact on quality: audio, lighting, and framing. Nail these, and your product demo will instantly look and feel more authoritative. It's that professional touch that helps you stand out and connect with the billions of people watching videos every day.
The appetite for video content is just staggering. Way back in 2020, about 3 billion internet users were already streaming or downloading videos monthly. That number was projected to climb to 3.5 billion by 2023. This is exactly why a sharp, well-made product demo is no longer a "nice-to-have"—it's a critical tool for any marketer. If you want to dive deeper, you can discover more insights about creating product demo videos to see just how big this trend is.

Nailing the Technical Essentials
You don't need a fancy studio, but a few small investments in your setup can make a world of difference. Think of it this way: clear audio and good lighting aren't just technical checkboxes; they're what keep your viewer from clicking away.
Crystal-Clear Audio: Bad audio is an instant dealbreaker. Your laptop's built-in mic? It's not going to cut it. A simple USB microphone or a lavalier mic (the kind you clip to your shirt) is a game-changer. It's a small investment that makes you sound crisp, clear, and professional.
Simple, Effective Lighting: Forget complex three-point lighting rigs. A single, well-placed light can do wonders. A ring light is a fantastic, budget-friendly choice that gives you soft, even light and gets rid of harsh shadows. On a shoestring budget? Just sit facing a window. Natural light is your best friend.
Stable and Smart Framing: Shaky footage is just plain distracting. Always use a tripod for your camera or phone to keep your shots steady. When you're framing yourself, think about the rule of thirds. Imagine a 3x3 grid over your screen and place yourself along one of the vertical lines, with your eyes near the top horizontal one. It’s a simple trick that makes your shot look more balanced and professional.
The single biggest mistake I see in DIY product demos is poor audio quality. People will forgive slightly grainy video, but they will not tolerate scratchy, muffled sound. Prioritize your microphone—it’s the best return on investment you can make for your video’s quality.
Recording Your Screen Like a Pro
For any software demo, your screen is the main event. A clean, smooth screencast is absolutely vital to show off how your product works. The whole point is to guide the viewer’s eye exactly where you want it to go, without any clutter getting in the way.
Before you even think about hitting "record," tidy up your digital workspace. Close every unnecessary browser tab and app. And for heaven's sake, turn off your notifications—nothing kills the professional vibe faster than a random Slack message popping up. A clean desktop background also helps keep the focus squarely on your product.
To really make your demo flow, find a screen recording tool with these features:
- Cursor Highlighting: A subtle circle or color change around your cursor is a huge help for viewers trying to follow along.
- Zoom and Pan: Use this to get up close and personal with key details, like a specific button or menu item. It directs your audience's attention exactly where it needs to be.
- Annotation Tools: The ability to draw arrows or boxes on the screen while you're recording is perfect for emphasizing important features in the moment.
Choosing Your On-Screen Presence
Another big decision is whether you’ll be on-camera, off-camera, or a bit of both. Each style has its own vibe, and the best choice really hinges on your product and brand personality.
At the end of the day, whether you're on-screen or faceless, it all comes down to confidence and clarity. Run through your script a few times before you record. It'll help you deliver your lines naturally and ensure your demo does exactly what it's supposed to: show off the incredible value your product offers.
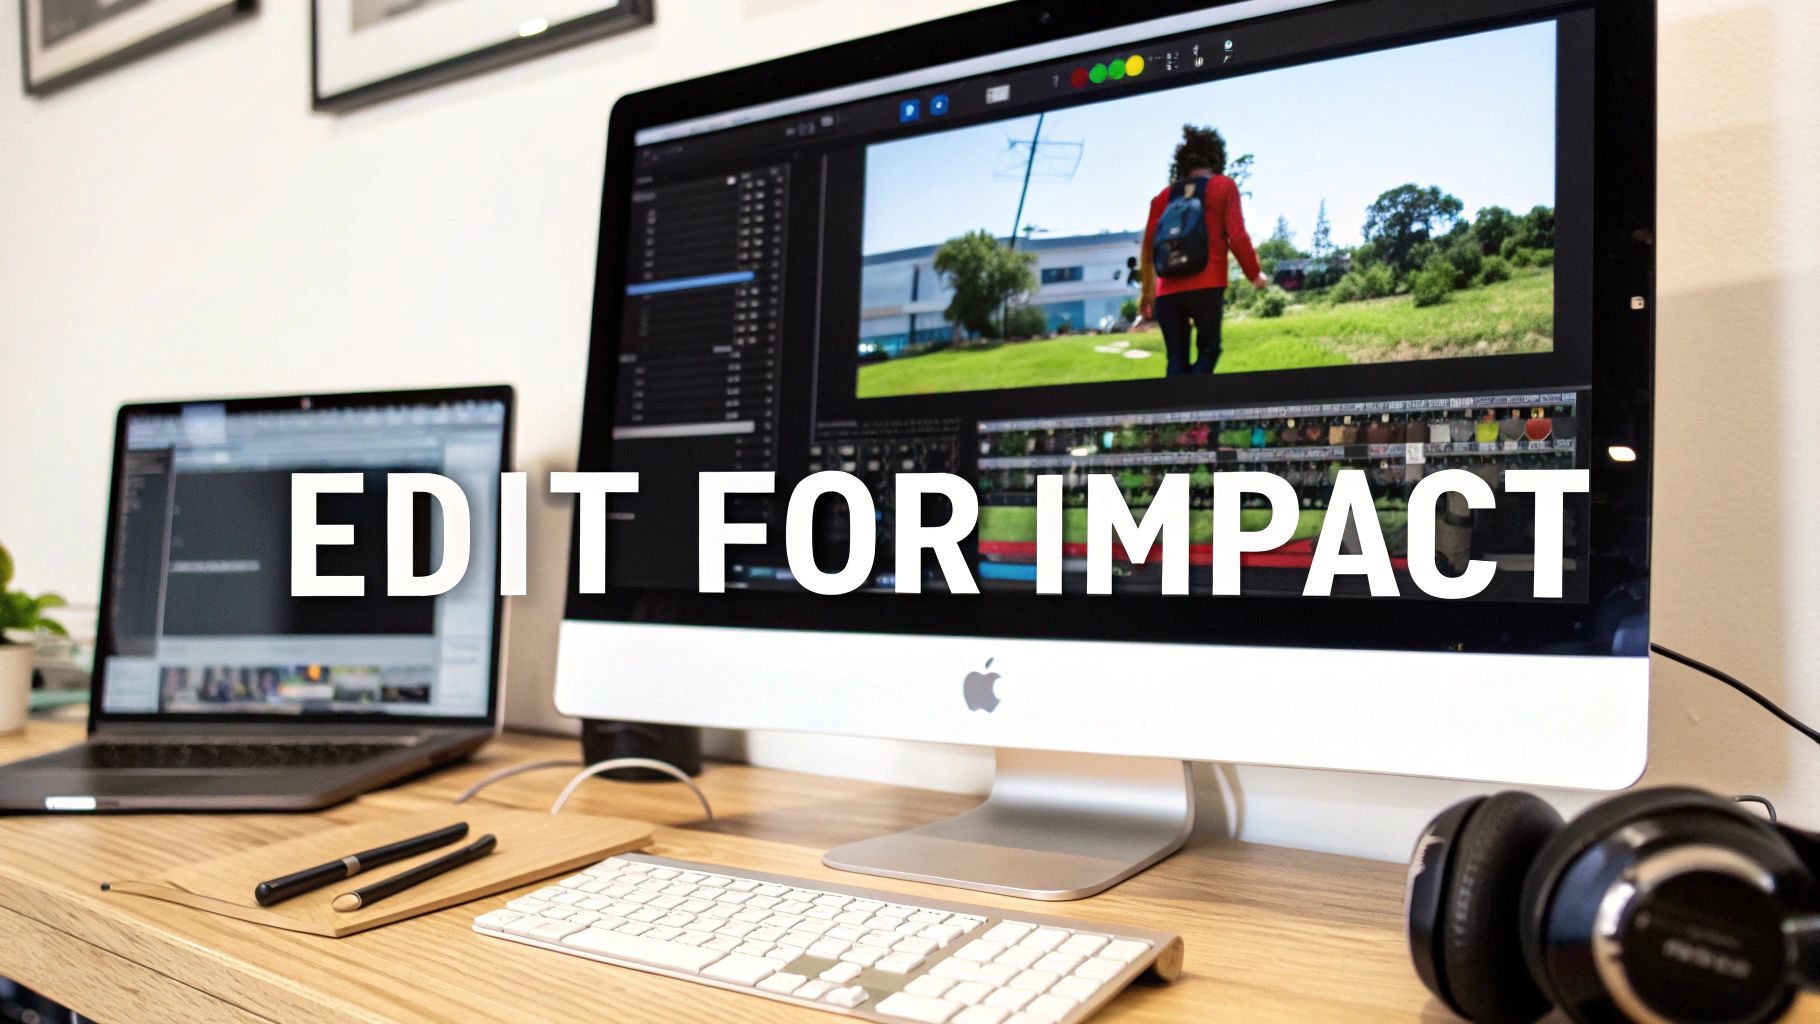
Editing for Engagement and Clarity
You've captured all your footage. Now, the real storytelling begins. Post-production is where you take those raw clips and audio tracks and weave them into a polished, persuasive product demo. This isn't just about snipping out the mistakes; it's about shaping the narrative, controlling the pace, and making sure every single second works hard to keep your audience glued to the screen.
The goal here is to assemble everything so it feels seamless and professional. A sharp edit guides the viewer's attention, clarifies tricky concepts, and builds momentum straight to your call to action.
The Foundation of a Great Edit
The very first thing to do is build a clean foundation. Start by dragging your best takes onto the timeline in the sequence you already mapped out in your storyboard. Your only job at this stage is to trim the fat—cut out the long pauses, the "ums" and "ahs," and any moments where you stumbled over your words.
This initial assembly is where you start to feel the rhythm of the video. Pay close attention to the pacing. A classic rookie mistake is blasting through features so fast that the viewer can't absorb what they're seeing. Don't be afraid to use strategic pauses to let important points sink in.
Of course, having great raw footage makes this whole process ten times easier. A clean, professional recording setup is your best friend.
A setup like this means you're starting with high-quality video and audio, which gives you so much more flexibility when you sit down to edit.
Enhancing Your Visuals with Graphics and Text
With the core video assembled, it's time to layer in elements that boost clarity and keep people engaged. This is where simple graphics and text overlays come into play. They're fantastic for directing the viewer's focus and reinforcing your key messages.
You don’t need to be a motion graphics wizard to make a huge impact. Stick to these simple but effective techniques:
- Text Callouts: Use these to label important buttons or highlight specific features as you demonstrate them. This is a surefire way to ensure nobody misses the critical details in your UI.
- Simple Transitions: A clean, hard cut is often all you need. But a subtle fade or slide can smooth the jump between different sections of your demo. Just please, avoid using a dizzying array of different "fun" transitions. Less is more.
- Zoom and Pan Effects: You might know this as the Ken Burns effect. Gently zooming in on a specific part of your screen is a powerful way to draw attention exactly where you want it.
Your number one job in the edit is to remove friction. Every single visual element you add should make it easier for the viewer to understand your product's value, not harder. If a graphic or effect is distracting, get rid of it.
The Power of Sound Design
Remember this: audio is 50% of the video experience. You could have the most beautifully shot demo in the world, but poor sound quality will kill it instantly. Your editing process needs a dedicated audio pass to ensure everything sounds crisp, clear, and professional.
First, level your voiceover audio so the volume is consistent from start to finish. Nobody wants to keep adjusting their volume. Next, find a subtle background music track. The right music sets the tone—whether you want it to feel upbeat and energetic or calm and corporate—and it helps fill any quiet moments. Just be sure the music is quiet enough that it never competes with your voice.
Finally, mix all your audio elements. Your voice should always be king, sitting right on top. Any product sound effects come next, and the background music should be tucked quietly underneath it all.
This checklist can help keep your post-production process on track, ensuring you don't miss any crucial steps.
Essential Editing Checklist
Following these steps methodically will help you transform your raw footage into a high-impact demo video that truly performs.
Streamlining Your Workflow with Modern Tools
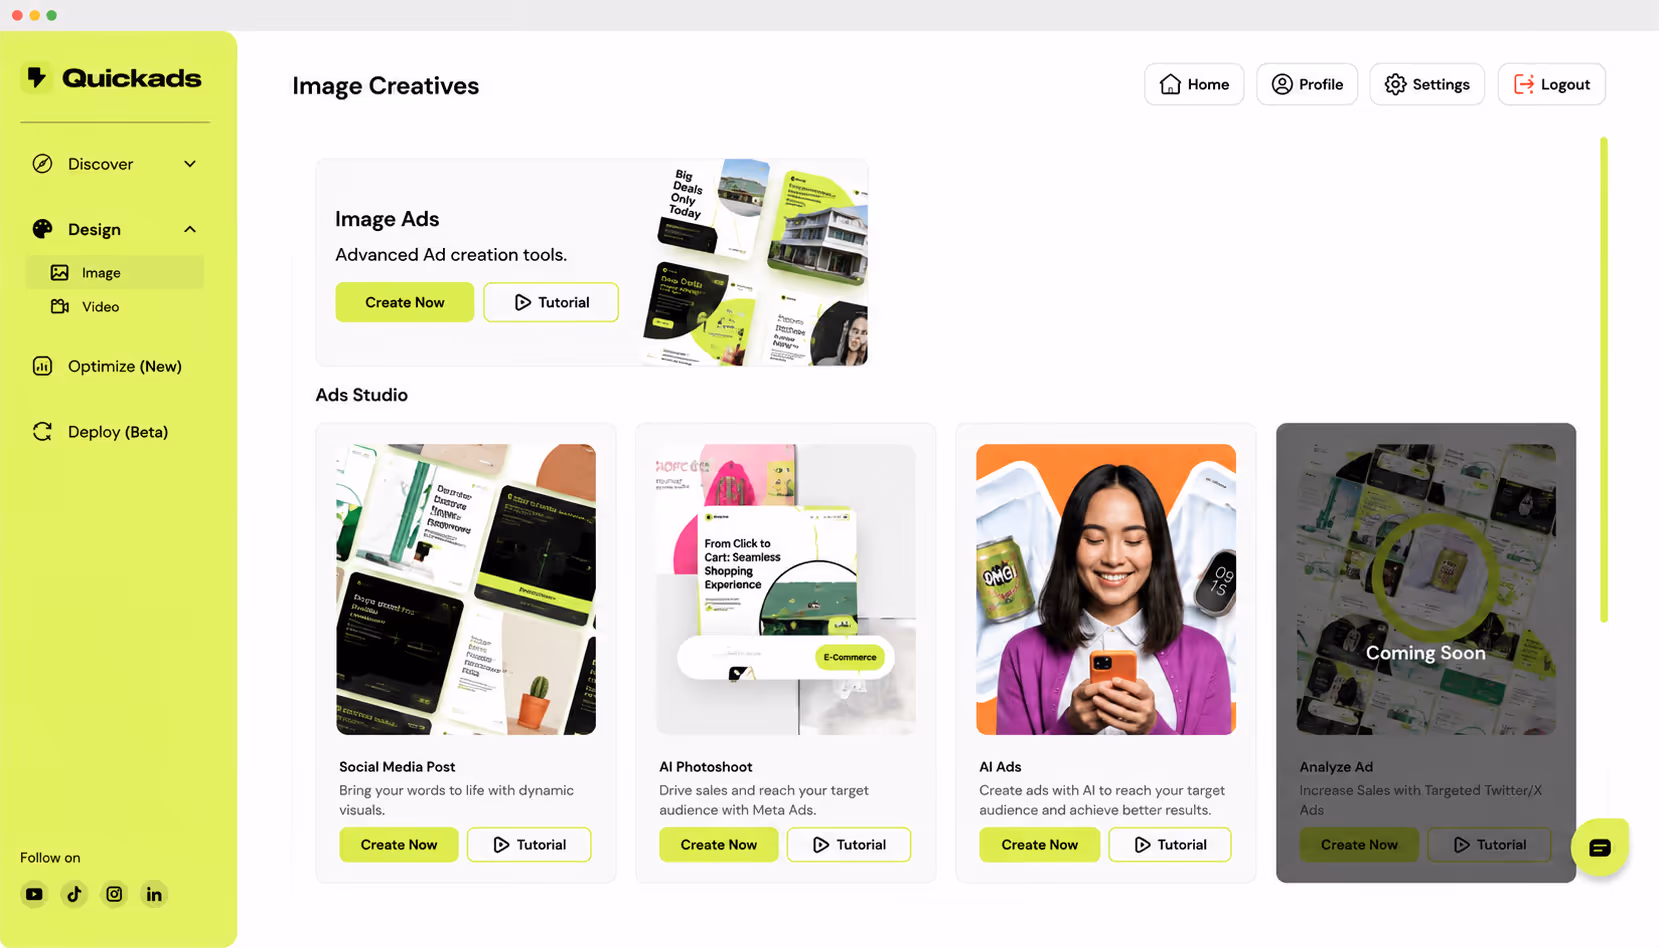
Let's be honest: the editing process, while critical, can be incredibly time-consuming. This is where modern tools can be a game-changer, especially for teams that need to pump out high-quality video content at scale. Platforms like Quickads.ai are built specifically to accelerate this workflow.
They can help you generate video ads and faceless product demos in a fraction of the time, handling a lot of the heavy lifting that comes with editing and motion design. This frees you up to focus more on the story and strategy instead of getting bogged down in technical details.
If you're weighing your options, getting a handle on the key differences between AI video editing software versus manual tools can help you decide which approach makes the most sense for your team's goals and resources.
Distributing and Optimizing Your Video for Impact
Creating a brilliant demo video is a huge step, but it’s only half the battle. If your masterpiece just sits on a hard drive, it’s not doing its job. The final, and arguably most critical, phase is getting that video in front of the right audience at the right time. A smart distribution plan is what turns your hard work into real business results.
This isn’t about just tossing your video up on YouTube and hoping for the best. It’s a calculated effort to place your demo at key moments in the customer's journey, making it a powerful asset that works for you 24/7. Your goal is to make it impossible for a potential customer to miss the value you’re offering.
Optimizing Your Video for Search and Discovery
When people need to learn how to do something, they go to YouTube. This makes it a non-negotiable platform for your product demo. You need to think of it less like a video host and more like the world's second-biggest search engine. To get found, you have to treat your video with the same SEO care you'd give a blog post.
It starts with the title. Instead of something generic like "Our New Software Demo," think like your customer. A title like "How to Automate Invoicing in 5 Minutes with [Your Product Name]" immediately frames the video as a solution to a real problem.
Your description is your next big opportunity. Don't just paste a website link and call it a day. Write a few detailed paragraphs that explain the problem your video solves and the specific features it covers. Make sure to weave in relevant keywords, add links to your site, and include timestamps so viewers can jump straight to the parts they care about most.
A well-optimized YouTube video doesn't just get views; it builds a long-term organic traffic source. Every view, like, and comment signals to the algorithm that your content is valuable, boosting your ranking and keeping your demo visible for months or even years.
Strategic Placement on Your Website
Your own website is the most powerful place to put your product demo. Placing it strategically can be the difference-maker in a visitor's decision. You want to present the video right at the moment a prospect's curiosity peaks.
Here are a few high-impact spots to embed your video:
- Homepage Hero Section: For most people, this is their first impression. A short, punchy demo video right at the top can instantly communicate your core value and slash your bounce rate.
- Pricing Page: When someone is looking at your pricing, they are deep in the consideration phase. A demo here justifies the cost by showing the tangible value and ROI, giving them that final nudge they need to commit.
- Feature-Specific Landing Pages: If you have landing pages for specific features, embed a short clip that focuses only on that functionality. This gives the user super-relevant information exactly when they're looking for it.
The numbers back this up. Recent industry data shows that companies using interactive demos on their websites see them contribute 10% to 20% of their inbound leads. Even more impressive, they can increase website conversion rates by a staggering 20% to 25%. To make sure your videos are pulling their weight, implement these conversion rate optimization tips alongside your placement strategy.
Repurposing Your Demo for Maximum Reach
Your main product demo is a powerhouse asset, but it shouldn't live in just one format. Repurposing it for different platforms is a brilliant way to maximize your reach without starting from scratch. Social media, in particular, has its own rules and demands content made for a fast-paced, mobile-first world.
That five-minute horizontal demo isn't going to cut it on Instagram Reels or TikTok. The move here is to slice your main video into bite-sized, vertical clips. Each short clip can highlight a single "aha!" moment or one game-changing feature. Always add bold captions, since most people watch social videos with the sound off.
This approach lets you meet your audience where they already are, with content that feels native to the platform. Suddenly, a single demo video can become a dozen social media assets, a key piece of an email campaign, or a go-to tool for your sales team—all from one recording session. This multi-channel strategy ensures your message is seen, heard, and remembered.
Common Questions About Product Demo Videos
Even with the best workflow in place, you’re bound to hit a few snags or second-guess your approach. That's completely normal.
Let's clear up some of the most common questions we get from teams creating their first (or fiftieth) product demo video. Getting these right can save you from costly mistakes down the road.
How Long Should a Product Demo Video Be?
There's no one-size-fits-all answer here, but a good rule of thumb is to keep it as concise as possible while delivering real value. For most product demos on a website or landing page, the sweet spot is between 2-5 minutes. This gives you enough runway to hook the viewer, present the core value, and drive them to the next step without them dropping off.
Of course, the "right" length really depends on where the video lives:
- For Social Media Ads & Top-of-Funnel: You have seconds, not minutes. Aim for under 90 seconds—and really, under 60 is even better. The goal is to stop the scroll and generate curiosity, not to give a full tour.
- For Mid-Funnel & Landing Pages: This is where the 2-5 minute video shines. Your audience is already interested, so they're willing to invest a little more time to see if your product is a good fit.
- For Sales Follow-ups & Bottom-of-Funnel: When you're talking to a warm lead, a longer, more detailed demo (even 10+ minutes) can be incredibly effective. These videos often tackle very specific use cases or complex workflows relevant to that specific prospect.
Do I Need Expensive Equipment?
Honestly? No. Your smartphone camera is probably more than good enough to get started. The two things that scream "amateur" have nothing to do with camera quality: bad audio and poor lighting.
You can instantly level up your production value with just two simple investments: a decent USB microphone and a basic ring light. Clear audio and good lighting make you look professional and trustworthy. For screen recordings, tools like Loom or the free OBS Studio are all you need to capture a crisp, clean screencast. Focus on clarity, not on pricey gear.
A great product demo feels less like a sales pitch and more like a helpful walkthrough from a trusted expert. Nail the basics, and you're halfway there.
What Is the Difference Between a Demo and an Explainer Video?
This is a big one, and confusing the two can really hurt your strategy. They serve completely different purposes.
Think of it this way: an explainer video tackles the "what" and the "why." It's your high-level pitch, often animated, designed for people who don't know you yet. It introduces a common problem and positions your company as the perfect solution, usually without ever showing the actual product interface.
A product demo video, on the other hand, is all about the "how." It's the proof in the pudding. It jumps right into your software or product to show specific features and workflows in action, proving you can solve the problem your explainer video talked about.
Ready to create stunning product demos and ads in minutes? With Quickads.ai, you can generate high-performing image ads, video ads, and faceless videos effortlessly. Start creating for free today at Quickads.ai.


Privacy is important to us, so you have the option of disabling certain types of storage that may not be necessary for the basic functioning of the website. Blocking categories may impact your experience on the website. View Our Privacy Policy


